Quality First
FASTPCBCHIP have 5S managerment for quality first.
1,more than 10 years experience
2,all parts datacode sourcing
3,quality management system
4,DPA lab

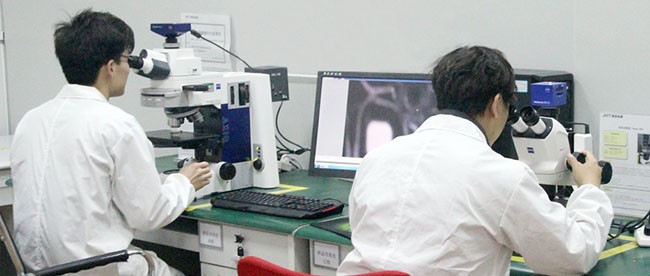
External assessment
1. Confirm the packaged materials, whether the number of chips, inner packaging, humidity indicator, desiccant, etc. meet the requirements, and whether the original label and packaging are complete and appropriate.
2. The appearance inspection of a single chip mainly includes the silkscreen of the chip, the production batch, whether it is re-coated, the state of the pins, whether there are re-polishing marks, unknown residues, and the position of the manufacturer's logo.
Appearance inspection is mainly used to determine whether the chip is refurbished, whether there are traces of plating treatment on the pins, etc.
3. FASTPCBCHIP has established its own database, including the models of major manufacturers, silk screen printing on the chip surface, original labels, packaging details, and other galleries. When suspicious products are found, we will call for comparison.

X-Ray detection
1. X-ray testing is a real-time non-destructive analysis to check the hardware components inside the component, mainly checking the lead frame of the chip, wafer size, gold wire bonding diagram, ESD damage, and holes.
2. X-ray tests can detect batch samples, effectively preventing some good and some abnormal materials from being mixed and sold in batch materials.
Ultrasound scan
SAT for short mainly inspects defects such as device cracks, such as cracks, delamination, voids, etc.
Electrical parameter detection
Set the static parameter meter according to the conditions of the specification to test whether the key electrical parameters are within the range of the specification. The defect rate of the original electrical parameter test of ordinary materials is usually within 3‰. If the test is higher than this value, it may be suspected as a counterfeit product.
Leakage check
Immerse the test sample into an oil tank filled with mineral oil or peanut oil to maintain the experimental environment. If continuous air bubbles emerge from the test sample, it indicates that the test sample is not well sealed. Leakage inspection is mainly used to confirm the leakage caused by the use of inferior sealing material or a poor sealing process.
For example, the X-RAY perspective instrument can observe clear pictures in real-time through X-ray non-destructive perspective inspection. The powerful software measurement function greatly improves inspection efficiency; Real-time dynamic images can be observed on the display screen, and the required pictures can be edited, saved, and printed, which is convenient for detection and greatly improves detection accuracy.


